Published June 2026 · Thermal Leaks · Home Energy Audit
Last Updated: 2026-08-04
Why Your Renovated Home Still Has High Energy Bills — And What an Energy Audit Actually Finds
You just spent $50,000 renovating your home. New kitchen, updated bathrooms, fresh paint throughout. But your electric bill looks exactly the same — or worse. Before you blame the new appliances, here's the hard truth: most contractors focus on finishes, not the building envelope. Here's what they missed, and how a $400 energy audit can find $300–$800/year in hidden leaks.
The Renovation Blind Spot
According to Energy Star, only 10% of home renovations include blower-door-guided air sealing — meaning 9 out of 10 renovated homes still leak like a sieve. Your contractor insulated to code minimum, not performance maximum. For a baseline before any project, see our guide to the best home energy monitors.
Why Renovations Don't Fix Energy Bills
Contractors are paid to make things look good, not perform well. A new kitchen doesn't seal the gap between your rim joist and foundation. Fresh drywall doesn't stop the attic hatch from leaking $200/year of conditioned air. Even a full gut renovation rarely includes the three things that actually lower your bill:
- Air-sealing the attic: Rim joists, recessed lights, plumbing penetrations — these are the biggest leak sources, and they're invisible after drywall goes up.
- Duct sealing: If your renovation touched HVAC, the ducts were likely disturbed. Unsealed duct joints can leak 20-30% of conditioned air.
- Insulation upgrades: Code minimum R-value hasn't changed much. Your renovated attic likely still has R-30 when R-60 is what actually saves money.
The Energy Audit: Your Renovation's Missing Step
A professional energy audit costs $300–$600 and takes 2–4 hours. Here's exactly what it finds that your contractor didn't check:
1. Blower Door Test
A powerful fan depressurizes your home while a meter measures airflow. The auditor walks through with an infrared camera to find every leak. Typical findings: attic bypasses, unsealed rim joists, leaky ductwork — all invisible after drywall closes them in.
2. Thermal Imaging Scan
The infrared camera reveals missing insulation behind walls, compressed batts, and thermal bridging through studs. Your new drywall hides these completely — the camera sees through it.
3. Duct Leakage Test
If the renovation moved or disturbed ductwork, this test measures how much conditioned air escapes before reaching its destination. A 20% leakage rate adds $200–$500/year to your bill.
Step-by-Step: What to Do Next
1DIY Pre-Screen with a Thermal Leak Detector
Before paying for a professional audit, walk your home on a cold evening with a thermal leak detector. Check outlets, windows, baseboards, and attic hatches. If you find 5+ significant leaks, the professional audit will pay for itself.
2Schedule a Professional Audit
Search for a BPI-certified energy auditor in your area. Many utilities rebate 50–100% of the cost. Ask specifically for a blower door test and thermal imaging — these are the two tests that find renovation-blind leaks.
3Seal What They Find
The audit will produce a prioritized list. Start with attic air-sealing (highest ROI), then duct sealing (if needed), then add insulation. Each step pays back in 8–18 months through lower bills.
Renovation-Specific Gaps a Standard Audit Misses
A general energy audit treats your house as one envelope. A renovated house is not one envelope — it is an old one joined to a new one, and the join is where the money leaks. These are the five failure points worth naming specifically when you book an audit, because a generic checklist will walk past them.
- The addition-to-existing seam. Where old framing meets new is the single most common air leak in a renovation, and it is usually buried behind finished drywall on both sides. Ask specifically for this transition to be checked under blower-door depressurisation.
- New recessed lighting. Every can light in a new ceiling is a hole into the space above it. IC-rated means it can touch insulation safely; it does not mean it is airtight. Airtight-rated (often marked IC-AT) is the specification that matters here.
- Ducts run through new unconditioned space. An addition's supply and return often run through a vented attic or crawlspace. Duct testing is not always required on an addition, so it frequently is not done — and untested ducts in unconditioned space are a large, invisible loss.
- Vaulted ceilings and knee walls. New rooflines create insulation planes that batts do not fill cleanly, especially around knee walls where the insulation has to turn a corner and stay in contact with the air barrier. Loose-fill with proper baffling handles this better.
- HVAC sizing after the fact. A renovation changes the heating and cooling load, but the equipment usually does not change with it. Oversized equipment short-cycles, dehumidifies poorly, and masks envelope problems by brute force. Ask whether a Manual J load calculation was redone for the finished house.
Before You Blame the Contractor
If the work is recent, you may have recourse — but only with evidence. Thermal imaging and a blower door test produce something a builder cannot argue with; a complaint that the house "feels draughty" produces a conversation that goes nowhere.
It is also worth pulling the permit history for the work. Unpermitted work correlates strongly with skipped air-sealing and insulation, because those are the steps an inspection would have caught.
On incentives: the federal 25C credit has ended. Under the One Big Beautiful Bill Act it does not apply to property placed in service after 31 December 2025, so 2026 work does not qualify. State and utility programmes, including the IRA-funded rebates administered by state energy offices, are still running and are the ones worth checking before you commit to a scope of work.
Prove It Worked
Renovation fixes are the case where verification matters most, because several trades touched the envelope and nobody owns the result. A blower door test after the work, compared against the one before it, is the only way to know whether the air-sealing actually took — and a circuit-level energy monitor running through a full billing cycle tells you whether the HVAC load actually dropped.
Without a before-and-after number, you are relying on whether the house feels different, which is exactly the judgement that got you here.
Products to Fix What Your Contractor Missed
Budget: Black+Decker TLD100 + Window Insulation Kit
~$40 total · DIY in one weekend
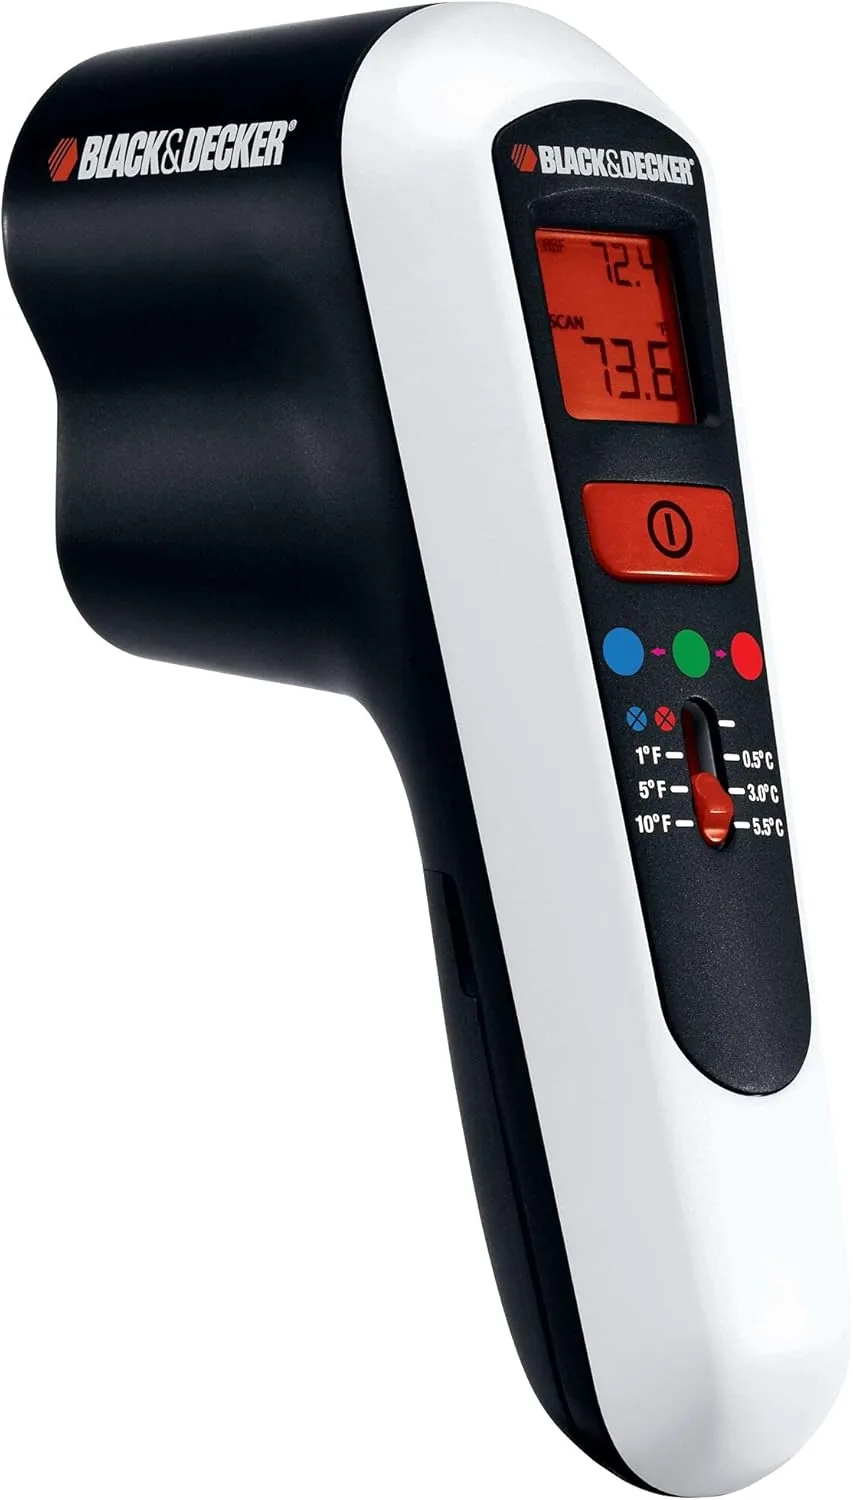
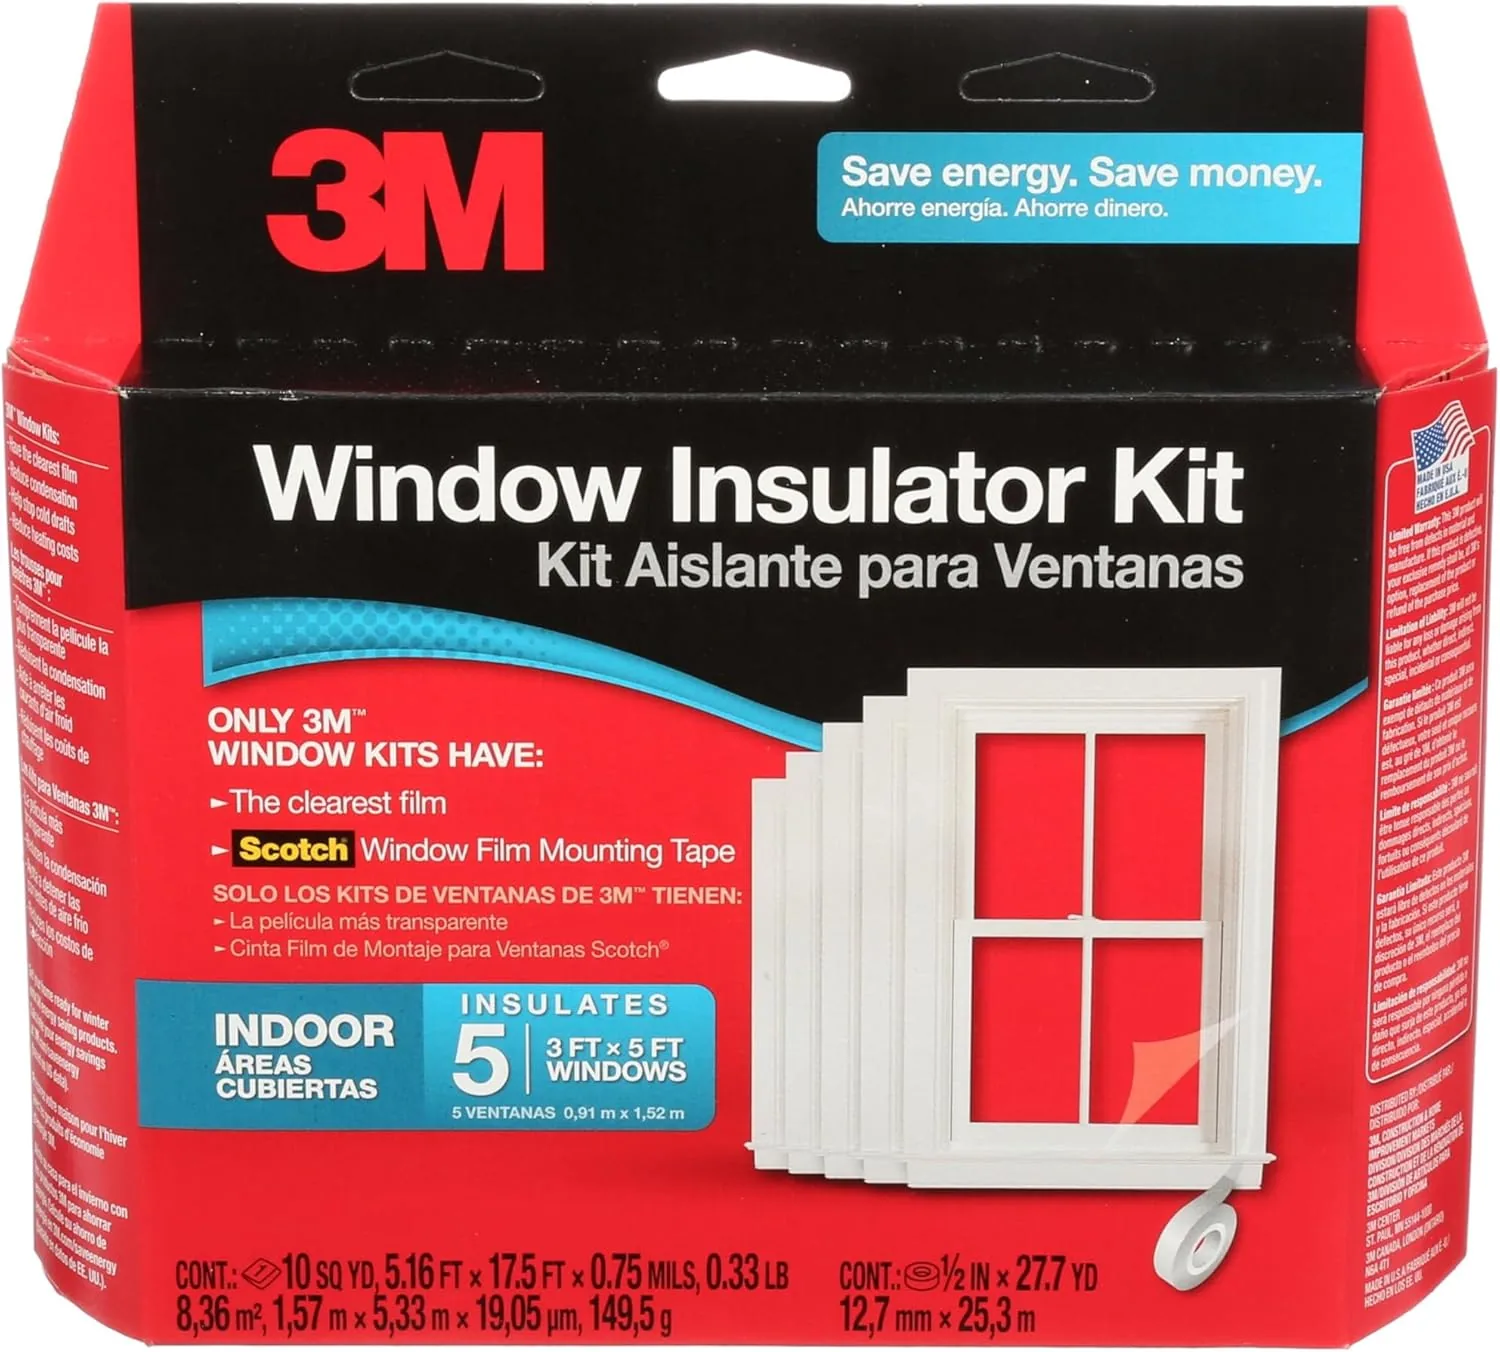
The Black+Decker TLD100 Thermal Leak Detector uses color-changing LED lights to find drafts instantly — no training needed. Use it to locate every leak, then seal windows with a 3M Indoor Window Insulator Kit for ~$15 per window. Together, these two tools can cut draft-related heat loss by 30-50%.
Performance: FLIR TG267 Thermal Camera
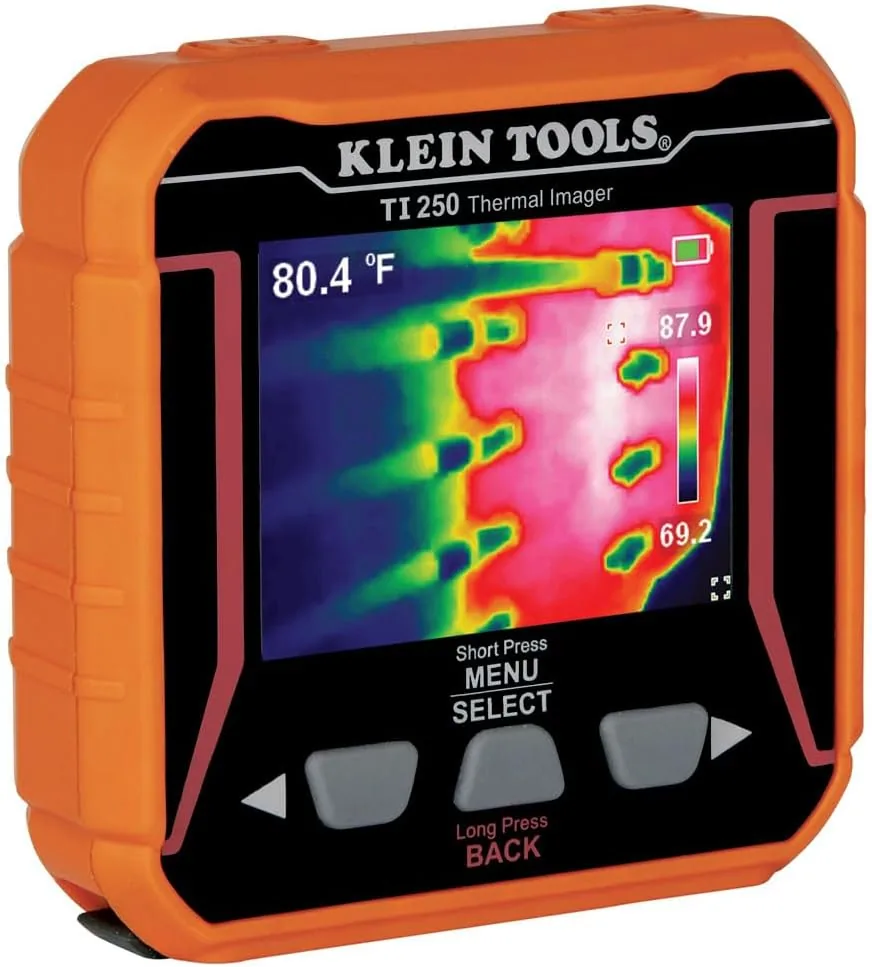
~$350 · Professional-grade visuals you can show your contractor
The FLIR TG267 is a thermal imaging camera that creates visual temperature maps of walls, ceilings, and floors. Point it at any surface and see exactly where insulation is missing or compressed — data your contractor can't argue with. Great for before-and-after documentation of your fixes.
Eco-Premium: Ecobee Smart Thermostat Premium

~$250 · Saves 12-15% on heating/cooling
Pair an Ecobee Smart Thermostat Premium with air-sealing for maximum savings. After sealing rim joists and attic hatches (the two biggest leak sources in renovated homes), the Ecobee's Smart Sensors and eco+ mode optimize your HVAC schedule for your tighter envelope. The thermostat alone saves 12-15% on heating/cooling — and with your leaks sealed, that saving compounds.
The Bottom Line
Your renovation made your home beautiful. An energy audit makes it efficient. Most homeowners find $300–$800/year in savings after sealing the leaks their contractor didn't know existed. With utility rebates covering 50-100% of the audit cost, there's no financial reason to skip this step.
Payback period for the audit: 8–18 months on energy savings alone.